
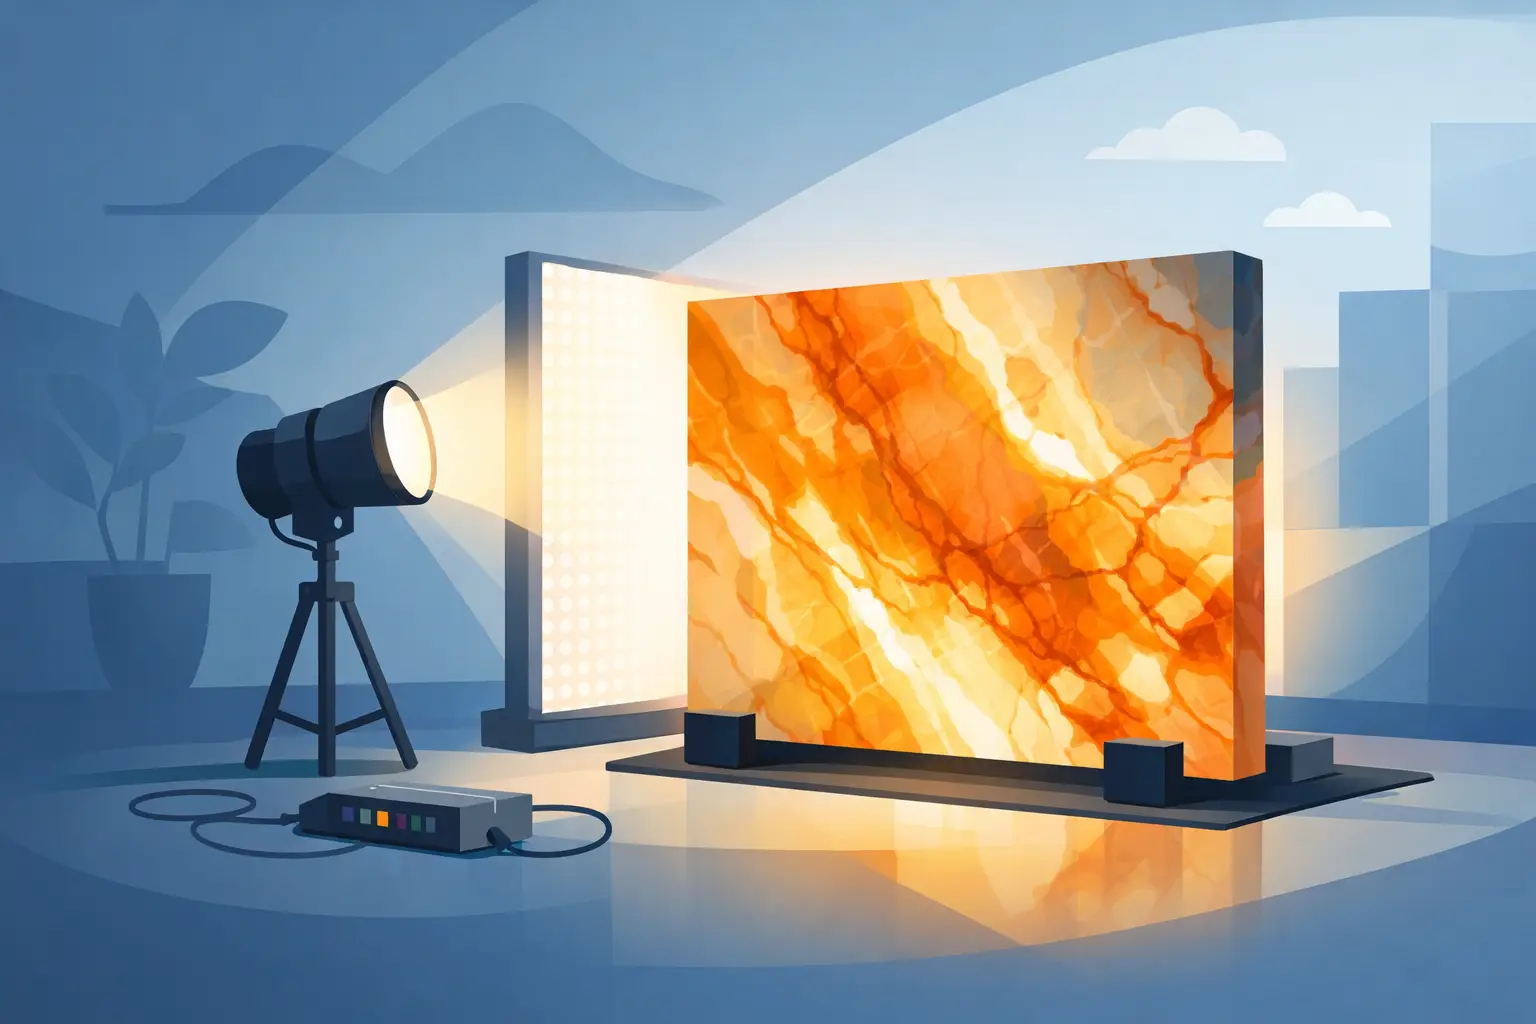
How to Backlight Translucent Stone the Right Way
A beautiful onyx slab can look impressive in daylight, then completely change the room after sunset. Knowing how to backlight translucent stone is what separates a bright countertop from a dramatic, evenly illuminated showpiece. The goal is not simply to put LEDs behind stone. It is to reveal the material’s natural veining, depth, and color without hotspots, dark corners, visible wiring, or a harsh glare.
For a backlit kitchen island, vanity, bar, reception desk, or feature wall, the best results come from planning the stone and lighting system as one installation. That means choosing the right slab, testing it before fabrication, allowing enough room behind it, and coordinating early with the stone fabricator, electrician, designer, and installer.
Start With a Stone That Can Actually Glow
Not every stone is a candidate for backlighting. Translucency varies widely, even within the same material category. Onyx is a favorite because its mineral layers, movement, and color often come alive when lit from behind. Some quartzites, agates, recycled glass surfaces, and specialty stones can also create a striking effect.
A stone slab may look translucent when held to a flashlight but still produce uneven results across a large island or wall. Dense sections, dark mineral deposits, resin fills, backing mesh, and thicker areas can limit how much light passes through. This does not necessarily rule out the slab. It simply affects where lighting will look strongest and what kind of system is needed.
Before fabrication, inspect the full slab with a light source behind it. This test reveals the stone’s bright zones, darker areas, veining, and natural variations. For a feature that will be viewed from the front, such as a waterfall island face or bar front, the fabricator can often position the most dramatic areas where they will have the greatest visual impact.
Thickness Changes Everything
Thickness is one of the biggest variables in a backlit stone installation. Thinner stone generally allows more light through, while thicker material can absorb light and soften the glow. A thick slab with a deep, dark pattern may need a more powerful and carefully designed lighting assembly than a pale, thin onyx panel.
The right answer depends on the exact stone, its thickness, the desired brightness, and the location. A softly glowing bathroom vanity may need less output than a restaurant bar that has to make an impression in a dim evening setting. Testing a sample at the intended thickness is the most reliable way to set expectations before committing to the finished piece.
Choose a True Lightpad, Not Just LED Strips
One of the most common mistakes in learning how to backlight translucent stone is assuming standard LED strip lighting will provide an even result. Strips can work in certain shallow or indirect applications, but they often create lines, dots, and bright bands behind a large stone surface. Those imperfections become more obvious at night, when the lighting is the feature.
For broad, visible surfaces, an engineered LED Lightpad or evenly distributed panel system is usually the better approach. It is designed to spread light consistently across the back of the stone, helping the material glow rather than exposing the lighting hardware behind it.
The lighting system should be selected around the project rather than treated as an afterthought. Consider the size of the stone panel, thickness, color, viewing distance, and available cavity depth. A backlit wall may have more room for a deeper assembly, while a countertop or furniture piece may require a thinner profile and more careful heat and access planning.
Color temperature matters as much as brightness. Warm white light tends to bring out gold, amber, cream, and honey tones in onyx. Neutral white can preserve a cleaner, more modern look. Cooler light may suit some gray or blue materials, but it can make warm stones feel flat or overly clinical. Dimmable lighting gives you the flexibility to adjust the mood for daytime, entertaining, or evening relaxation.
Build the Right Space Behind the Stone
A backlit stone installation needs a properly prepared cavity behind the visible surface. This space houses the lighting system, wiring, power components, and mounting structure. It also creates the separation needed for the light to spread before it reaches the stone.
Too little depth can create hotspots. Too much open space without the right light distribution can produce uneven brightness. The ideal assembly depends on the light source and stone, which is why custom planning matters. A lighting specialist should review the project before cabinets are finalized, walls are closed, or slabs are cut.
The interior of the cavity should be clean, stable, and designed to reflect light effectively. Dark framing materials, exposed rough openings, or inconsistent backing can absorb light and leave shadows. A properly finished reflective interior supports a smoother, more polished glow across the stone face.
Access is also essential. Drivers, dimmers, and electrical connections should not be permanently buried behind a slab with no service path. Quality lighting is built to last, but every electrical installation should allow for future inspection or maintenance. A removable panel, accessible cabinet section, or planned service location can prevent a small repair from becoming a major construction project.
Plan Power, Controls, and Heat Before Installation
Backlighting is most convincing when it feels effortless. The switch location, dimming method, and power supply placement should be decided before the feature is installed. A client should not need to reach into a cabinet or remove décor to adjust a dramatic kitchen island or bar.
For residential projects, dimming is often worth the investment. A bright setting can showcase the stone during a gathering, while a lower setting creates a more relaxed glow after dinner. In commercial settings, controls can help establish the right atmosphere from daytime service through evening events.
LED systems run far cooler and more efficiently than older lighting methods, but heat still needs to be managed responsibly. Components must be specified for the environment and installed with the appropriate clearances. This is especially relevant around enclosed cabinetry, outdoor-adjacent bars, humid bathrooms, and high-use commercial spaces.
Electrical work should be coordinated with a qualified electrician and the lighting installer. Planning this early avoids visible cords, awkward switch placement, last-minute cuts into finished cabinetry, and delays when the stone is ready to install.
Use the Stone’s Natural Character as the Design
Backlit stone is not supposed to look perfectly uniform like an illuminated acrylic panel. Its beauty comes from the natural movement inside the material. Veins may appear darker, crystalline areas may glow intensely, and subtle color changes may become visible only when the lights come on.
That is why slab layout is so important. A bookmatched onyx wall can feel like functional art. A backlit waterfall island can turn an otherwise beautiful kitchen into the room everyone gathers around. A glowing vanity can add a resort-like feel without needing extra ornament.
Think about sightlines as well. The best backlit feature is usually visible from the point where people enter, sit, entertain, or wait. In a home, that may be the kitchen island seen from the great room. In an office, it may be the reception desk. In a restaurant or retail setting, it may be the bar face or a display wall that pulls guests deeper into the space.
Avoid the Problems That Ruin the Effect
The most disappointing backlit stone projects tend to fail for predictable reasons: lighting was selected after the stone was installed, the cavity was too shallow, controls were overlooked, or the slab was never tested before fabrication. Another issue is treating every stone like onyx. Different materials transmit and scatter light in very different ways.
Do not judge the effect from a tiny sample alone. A small piece can tell you whether a material has potential, but a larger test is more useful for spotting uneven density and determining the appropriate light output. If the project includes multiple slabs, examine each one. They may not glow the same way.
It is also worth protecting the investment with a complete installation plan. The lighting, stone support, electrical access, cabinet or wall construction, and finishing details all have to work together. When one trade works in isolation, the final result can suffer.
At LightPads Unlimited, that coordination is part of the job. A custom backlit stone feature should feel exciting from the first design conversation through the moment the lights turn on, with the technical details handled carefully behind the scenes.
Give the Feature a Chance to Shine
The most memorable backlit stone installations are designed around the way people use a space. Choose a location with strong visibility, use controls that fit the lifestyle or business, and give the stone enough room and the right quality of light to show its true character. When the planning is done well, the finished surface does more than glow – it gives the entire room its WOW factor.
0 comments